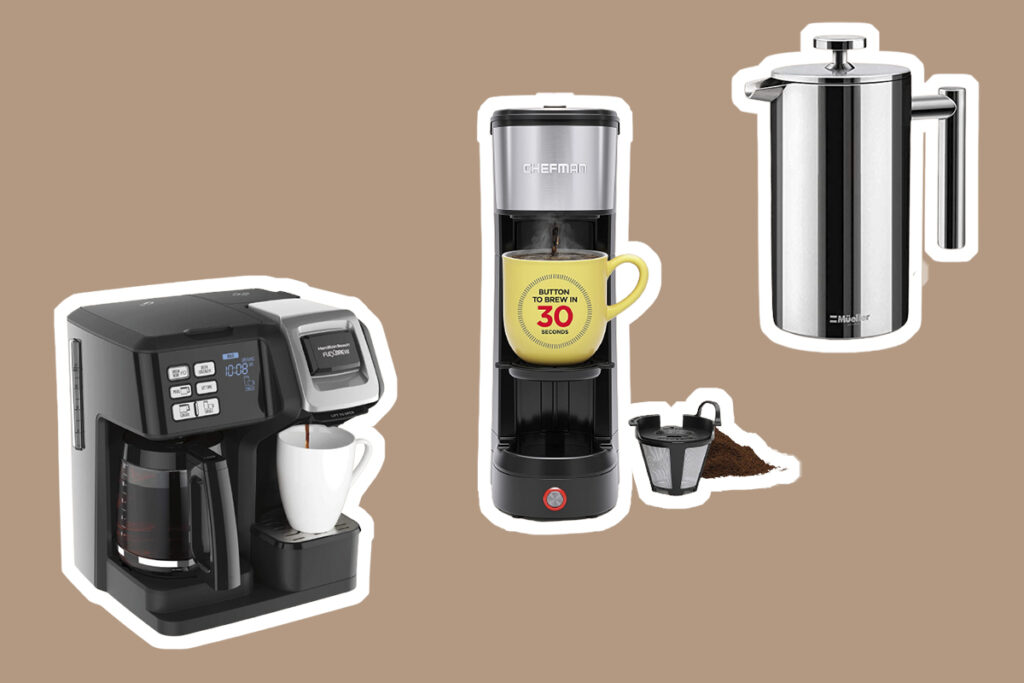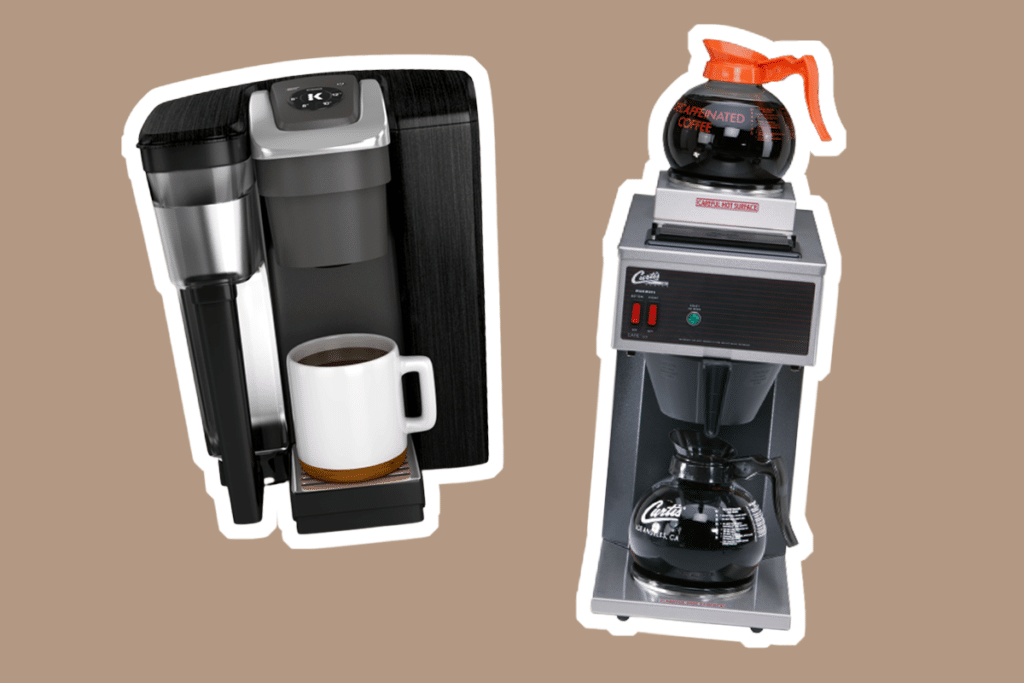

Keurig is a coffee maker brand that needs no introduction. A lot of people have the coffee machine in the office or at home, and everyone loves their Keurig because it is a sure bet when it comes to simplicity and speed. It offers consistent taste and is incredibly easy to use. When your machine is in a great working condition you will appreciate how effortless it is to get a quick brew. However, the Keurig machine is not perfect just like any other machine out there. You might encounter a few issues with it at some point hence the need for a Keurig troubleshooting guide.
Our guide has quick and easy solutions that don’t require any technical skills. Some of the common issues you are likely to encounter are like leakages and failure to turn on, brew, or read the K-cups. The problems can be frustrating and heartbreaking, especially in the morning when you have to rush but the solutions in this article will help you get over the heartbreak easily.
 This is the number one problem you are likely to encounter when you are setting up your brand new Keurig or trying to power the one you have been using.
Some of the possible quick fixes for this problem include:
The Keurig coffee maker is a stellar java tech. You might be led to believe it has a mind of its own. Most users report that their Keurig is haunted as it turns on and off on its own. There’s an easy fix for the problem.
The most recent models are more improved with a lot of settings that can be confusing. A lot of users are never aware that the settings are active. The automated brewing feature is the most notorious issue of the Keurig troubleshooting. It is a remarkably useful feature, especially for users that love to have their coffee at the same time every day.
If you Keurig turns on or shuts off on its own you may have accidentally activated the automated feature. Once you turn it off, the machine will go back to working normally.
If your Keurig keeps shutting off randomly, there are 2 possible reasons:
The auto-off timer is set– Perhaps your machine comes with the auto-shut off feature and it’s on. If you don’t want the feature you can disable or adjust the timer so that your brewer doesn’t power down automatically. When you are done with the adjustment, resume your brewing process to see if the problem is solved.
The magnet in the water reservoir is not in the right place– Every time you remove the water reservoir, you have to ensure you place it back correctly. The magnetic contacts on the reservoir must be in contact with the ones on the machine. If this isn’t the case, your Keurig machine will shut-off because it won’t sense any reservoir for freshwater.
To fix this problem, simply use your hand to realign the magnet and place the reservoir correctly.
 Resetting your Keurig should be easy as ABC, but you may encounter some challenges. Here are some possible reasons why your Keurig won’t reset:
Here is how to reset your Keurig in case you are experiencing some trouble with it:
In some cases, the basic reset won’t work and you may be required to do an advanced resetting. The advanced resetting will reset the internal computer system of your brewer and resolve any existing technical glitches. Here’s how to go about it:
If you can’t reset your Keurig after trying all these fixes, you can contact the Customer care support.
 Nothing is more annoying than having water on your countertop every morning you try to get a quick coffee brew. What’s even worse is a sludgy mixture of coffee grounds. The water mainly leaks from the bottom or during heating. Here are the possible fixes:
Leakage during heating– the main causes for this are use of incorrect capsule size and clogged needles. To fix the issue, clean both the needles and K-cup holder. Also, double check to see that the valve at the bottom of the water is clean.
As for the correct pod sizes, follow Keurig guidelines to help you choose correctly. The instructions will help you prevent unwanted damage to your pod coffee brewer.
Leakage from the bottom- this is usually caused by a damage on the seal or hose inside the machine. The ring at the bottom may also cause a leakage.
If the O-ring is the issue, you can easily replace it with a new one. If the seal or hose is damaged, then you have no choice but to disassemble your Keurig.
Other fixes you can try include:
Check the water reservoir and ensure it is seated properly.
You can also remove the reservoir and check if there’s water underneath. You can hold it over the sink to see if water leaks out from it. If you realize the reservoir is the cause of the leakage then check if some parts are misplaced. The gasket, which is located near the puncture needle may not be lined up properly, causing the leak.
If neither of the solutions work, reach out for further assistance from Keurig Customer care service.
It can be devastating when you insert the most delicious K-cup only to find a little bit of coffee has been brewed. A clogged Keurig is the most probable cause of the compromised quality and quantity of your brew. Here is troubleshooting for your Keurig that won’t brew properly:
Over time, your Keurig can get clogged with scale if you use hard water to brew coffee all the time. The scales are mineral-based deposits and they eventually make your machine to stop functioning normally. On the flip side, if the water is too lacking in minerals, your machine may struggle to function properly as well.
You can avoid this by using the best water treatments.
The iSpring RCC7AK 6-Stage under Sink Reverse Osmosis Drinking Water Filter System is one of the most popular water filter systems out there. It gets all the rave from expert reviewers and users because it is a water softener that restores healthy minerals and balances alkalinity to give your water a natural taste. It is super easy to install and it fits nicely under any standard size sink.
To get the right mineral balance for your coffee machine, you can try remineralization to add some essential minerals to the water to make it blend well with your coffee. You can also use filtered water which has an improved taste and quality as the levels of chlorine and chloramine have been reduced.
You can try to fix the clogging problem by: brewing a few rounds of coffee without a K-cup. This will allow the system to get flushed with water to remove any gunk or scaling.
OR: giving your Keurig a thorough cleaning. Cleaning your Keurig can be such a drag but it’s essential for its functionality. Luckily, Keurigs are easy to take apart for cleaning, making the whole process a lot easier. Here’s the simplest way to go about it:
Air can get trapped in the water lines. To get rid of the bubbles, fill up the water reservoir, switch off your Keurig and unplug it, then give it a quick gentle shake. You can also use a straw to blow stuck air.
Forcing the machine to brew without giving it adequate heating time will get it stuck in the brewing process. You will also end up with very little coffee in your cup.
If your machine has magnetic components you should do a quick check to confirm that they are seated properly.
 This is a common problem especially with the Keurig 2.0 machines. The main issues with the touchscreen are usually: the screen goes all blank or it doesn’t work at all. Here is a Keurig 2.0 troubleshooting for a touchscreen that isn’t turning on:
Unplug the brewer then plug it back in. You should be able to prompt the start a brew or water only dispense options if the problem gets fixed. If it’s still frozen or won’t work at all, then you can get further assistance from customer care.
Your coffee should not taste bad at any point if you are consistent with your K-cups or you haven’t changed your coffee brand. There are several reasons behind the ruined flavor of your coffee, whether it’s a pungent vinegar smell or an awful taste:
A dirty water reservoir
 The main component of your coffee is water. If you fail to rinse the reservoir properly after cleaning it with vinegar, your brews will leave a bad taste in your mouth. The only way to fix this is to empty the reservoir, rinse it thoroughly, then fill it up. Ensure the machine has cooled down for several hours.
Leaving the filter paper when descaling
If you leave the filter paper during descaling, it will get soaked with vinegar water and result in a flat coffee taste due to the sharp vinegar smell. Check your user guide to get directions on how to remove or replace the filters. If you have a Keurig 2.0 and you have no idea where to get replacement filters, check out the popular Charcoal Water Filters. The 24 pack filters fit all Keurig 2.0 models and the Keurig single cup reservoir brewer. They are made of the finest charcoal that guarantee you 100% removal of impurities like chlorine, calcium, and odors that can reduce your machine’s lifespan as well be dangerous to your health.
Scale or oil build-ups
The only way to prevent scale build-up in your water reservoir is using the right quality of water. Also, you must clean the coffee grounds and other dirt that may contaminate your java. You can invest in a good water filter system to always have clean water to use in your coffee maker.
Advanced Keurigs have a feature that alert you when it’s time to descale. Just ensure you give your brewer a thorough clean every 3 months or soon if you use it often.
Plastic parts have absorbed vinegar
If you descale your Keurig with vinegar, its plastic parts might absorb its smell which could compromise the taste of your coffee. The only solution to this problem is to rinse thoroughly with hot water to get rid of the unwanted smell.
There are times when you will fill your water reservoir to the maximum level but the “add more water” error message still appears. This is how to fix the issue if it persists:
The message should be gone when you are done with the steps above, if not, seek help from customer care.
It can be heart breaking to realize that you dug deep into your pockets for the best coffee maker with hot water dispenser and now nothing comes out of it.
There are a couple of reasons behind your Keurig’s inability to dispense water, but the main causes are debris build-up and scaling.
Here is troubleshooting for your Keurig if there is no water coming out of it:
If your Keurig is not dispensing water it means it is not pumping water, and you are likely to get some grinding noise. The noise is produced when the machine attempts to pump water through but fails. If you don’t hear any grinding noise and your Keurig isn’t dispensing water, then the motor could be entirely damaged. In this case, you might be forced to replace the motor or the entire unit.
What to do?
If the machine doesn’t function well after the steps above, try the following:
Insert Turkey Baster
With some water already in the reservoir, try inserting the Turkey baster into the part that connects the water reservoir to the brewer. The water should get cloudy as the scaling and debris will be forced into the reservoir. This will make it easier for the pump to push water freely.
If this doesn’t work, try descaling the machine with a mixture of vinegar and water. Here’s how to descale your Keurig correctly:

If your Keurig’s motor is still unable to pump the water, try shaking it in different ways. Sometimes air bubbles get trapped into the machine and they affect the pump’s capabilities. The shaking will help get rid of unnecessary air. To prevent the issue in future, always refill the water reservoir before it gets fully empty.
Your Keurig should take 3 minutes tops to preheat. Any longer means something is wrong with your machine. You can fix this by simply unplugging the machine, then plugging it back in to restart the brewing process.
If the issue doesn’t get fixed, you can try filling up the water reservoir with hot water. The Keurig will sense the hot water and start working again. Most users have reported that this method works for them, but it is against Keurig’s recommendation of adding cool water to the reservoir.
If you get this errors message on your Keurig, it means there’s very little or no water channeling between the interior and exterior water reservoir. There are a handful of reasons behind this and they include:-
You can fix these issues by simply cleaning the Keurig and testing it with the water-only brew cycle. Here is how to go about it:
The steps above should remove all the debris or dirt that hinder easy channeling of water between the external and internal reservoirs. If successful, the ‘Prime’ error message should be gone.
If the problem persists, you can try removing debris from the needles and holder as well. Here is how:
With the steps above, you should be able to make steaming hot and delicious brew without the annoying ‘Prime ‘error message.
If the problems still isn’t solved, you can try cleaning the filter screen. If the error message refuses to go you can contact customer care for assistance.
 This problem is commonly referred to as a ‘short cup’. It happens when your Keurig doesn’t brew the coffee size you select. It is mainly caused by a clogged needle or the removal of a water reservoir during brewing.
Here is what to do when your Keurig duo won’t brew a full cup of coffee:
Alternatively:
Remove the water filter then run the water-only brew cycle. If the machine dispenses the right amount of water then it means you have to change your filter.
If this doesn’t work, try cleaning the entrance and exit needles then run a couple of water-only brew cycles and use a measuring cup to determine if the machine is dispensing the right amount of water.
Keep in mind that the initial pre-heating takes about 3 minutes. Be patient, but if it takes longer then check if:
Here is troubleshooting for your Keurig K compact that keeps dispensing coffee grounds in your cup:
Solutions:
If you are using reusable filters, use coarse coffee grounds. Also avoid overfilling the K-cup as it may make the coffee grounds settle in your cup.
If you find that needle clogging is the reason for the machine dispensing the grounds in your cup, use a paper clip to unclog the exit needle. Run a couple of water-only brew cycles to check for grounds coming out. The cycles will also help clean any residual grounds.
 Most Keurig models have a setting that allows you to choose the amount of water to go through the coffee grounds. If you are concerned about weak coffee tastes, try not to use the default 8-ounce or higher cup options because it will be the same amount of grounds regardless of the amount of water you use.
The best way to combat this issue is by doubling up your cup. Use 2 pods on the lowest ounce setting on your brewer. You can also use strongly roasted K-cups. The hot water in a Keurig spends less time touching the coffee grounds. If you are using any light roasts, you are likely to end up with coffee that tastes like coffee-flavored water.
Also, take advantage of the ‘strong’ button on your Keurig. Keurig machines with the setting are made to increase the strength of the coffee by increasing brewing time.
Another thing you could do is use your own coffee grinds. You can get a K-cup reusable filter that allows you to use freshly ground or pre-ground beans of your liking. Grind your coffee beans immediately before brewing for the perfect cup of coffee.
Keurig is making weird noises
Most Keurig models are pretty noisy machines. Most of the sounds your machine makes are normal. However, if you hear any weird noises like a grinding sound, you should be keen to check it out. A grinding noise means your machine is trying to pump water but it’s failing. It indicates that something is wrong with the motor.
If the machine’s motor or pump have an issue, you have no choice but to replace them, unless you can get them repaired. Always ensure your Keurig is cleaned properly to prevent any damages to the pumps or water lines. If you can’t find the issue with your machine, be sure to seek help from Keurig customer care.
Keurig isn’t heating
Your Keurig may be dispensing water, but it is not heating up. Here is troubleshooting for your Keurig k150 that won’t heat up:
You can get rid of the calcium-build-up and coffee grounds by giving your machine a thorough cleaning. If your water pump has issues, you are going to have to replace it. You can contact Keurig Customer care for further assistance with the water pump replacement.
The best Keurig coffee maker guarantees you speed, excellent consistent taste and ease of use. However, these are privileges you only get to enjoy when your machine is working properly. Every now and then, your machine is going to have some issues and you are going to be in dire need of Keurig troubleshooting.
Different models have different issues but there are common problems that nearly all Keurig users are likely to encounter. Luckily, there are simple fixes to these problems and if you don’t seem to find a permanent solution for your machine, you can always get further assistance from Keurig customer care. Most Keurig units are backed by 1-year warranty and you can take advantage of the over to get repairs and replacements.