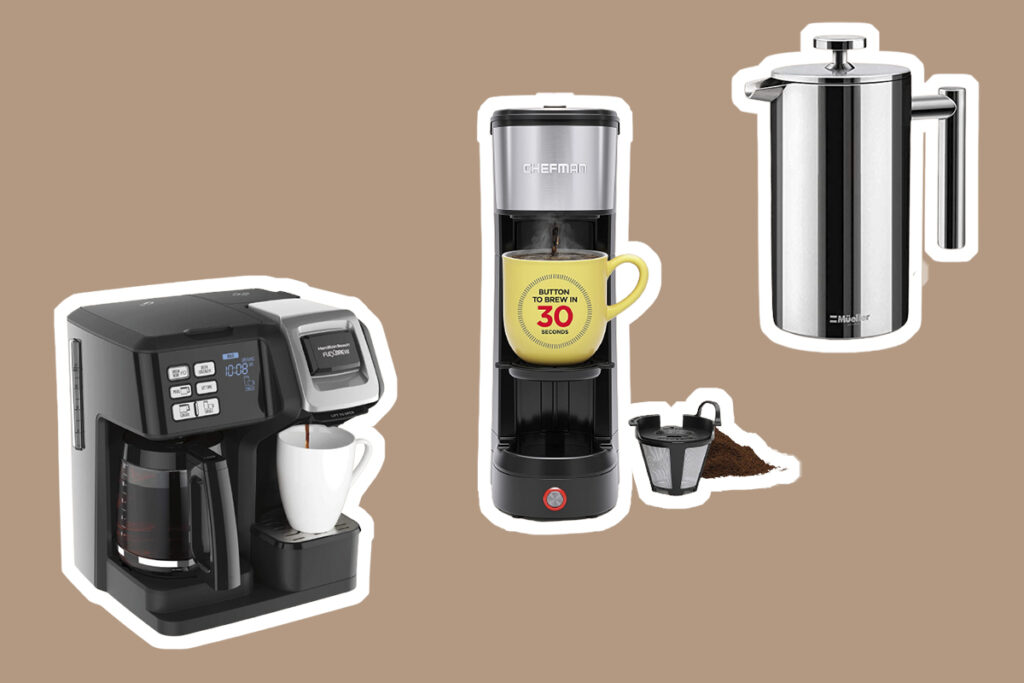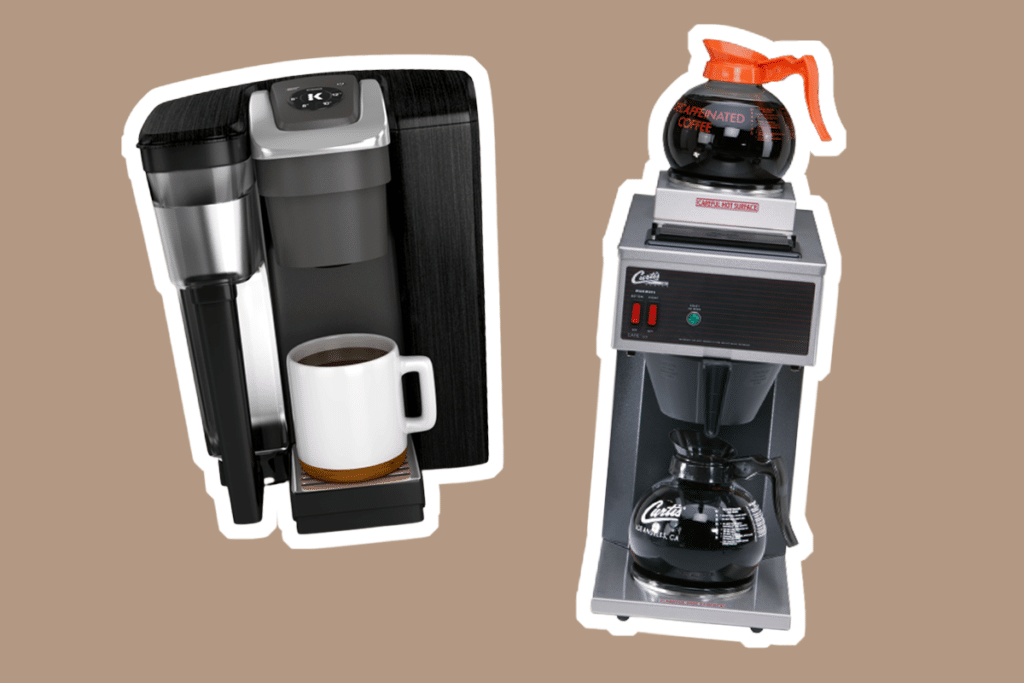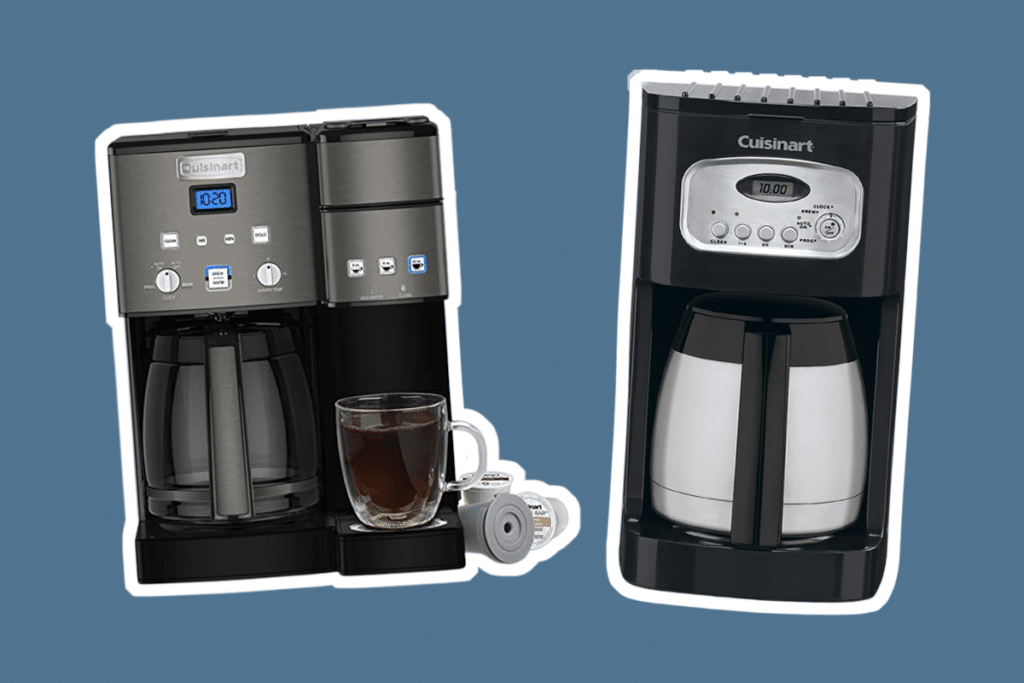

It seems like coffee has never been more popular. Many people have their favorite coffee drinks and stand in line every morning in order to get it. People have their favorite coffee shops, too, and often drop a fair amount of money to get their daily caffeine fix. But there’s a simpler and often cheaper, way to get your coffee – having a coffee maker in the office or at home. If you’ve ever wondered how to use a coffee maker, then this article should educate and help you decide what’s best for your needs.
 One of the first steps to use a coffee maker is to fill the machine with water. Many coffee makers come with markings on the unit or on the reservoir in order to make measuring the amount of water you need simple and easy, but for the best accuracy, consider using a kitchen scale to weigh the amount of water you’re adding. One milliliter of water weighs one gram, so the conversion is easy to handle. You can use tap water in your machine if you want, as that’s certainly the easiest option. But since a lot of tap water has too many minerals, it’s best if you can run it through a water filter if you can. That will give you the best results. Bottled water works great, too, but has the downside of the plastic waste.
Don’t use distilled water when using a drip coffee maker because you actually do need some minerals in the water in order to brew the coffee.
Drip coffee makers tend to come with a variety of different filter types, from paper to stainless steel. Some coffee makers use a paper filter that has a round shape and a flat bottom. The sides of the filter are often wavy. These are the most common paper filters for drip coffee machines. They’re also simple to use. Just put the filter in the basket, and it’s ready to go.
If your coffee maker uses cone-shaped paper filters, it’s important to remember to fold the crimped edges in opposite directions before placing it in the filter basket.
But some drip coffee makers come with reusable, stainless steel filters. These are great because you don’t have to worry about buying new filters. Stainless steel filters are also very easy to use.
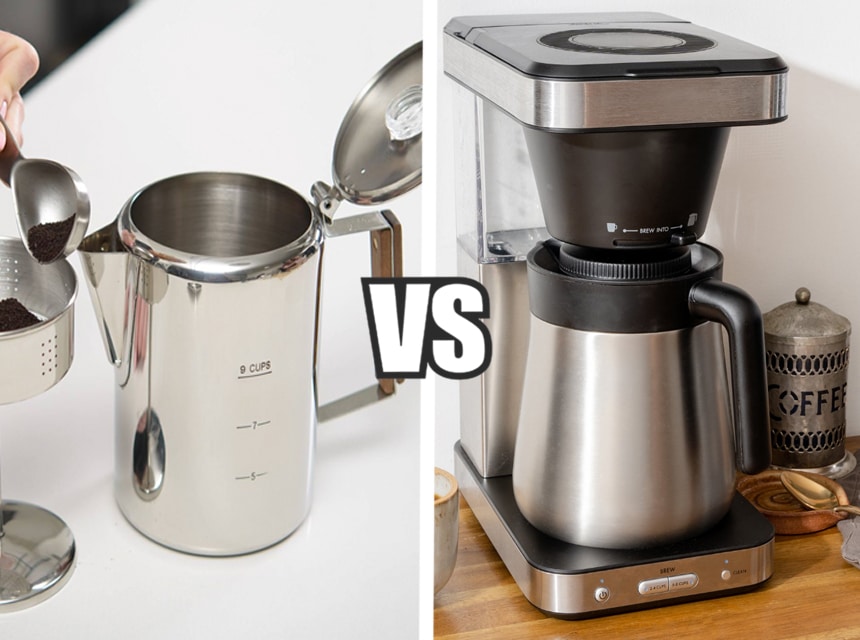
 There are a couple of options when it comes to coffee. If you buy pre-ground coffee, then you’re ready to add it to the filter and basket and move on to the next step! But many people choose whole beans that they then grind themselves. This often leads to fresher coffee and better control over the flavor of your drink. You will also want to know how much coffee to use in your drip coffee maker concerning how much water you’ll be using. This can be adjusted to taste: more beans and less water means a stronger drink. Also, keeping coffee in the airtight container or in the refrigerator can help keep your beans and grounds fresh and retain the flavor.
There are some coffee makers that come with a built-in grinder, which is very convenient.
If you’re grinding the coffee beans yourself, choose a “medium” grind size. Or if your grinder has a “drip” setting, pick that one.
Once your beans are ground, add them to the filter basket, and you’re ready to make perfect coffee!
Now it’s time to brew your coffee. Many drip coffee makers have specific settings you can try out, such as the strength of the drink, but if this is your first time, it’s often best just to start with the default or regular setting and then adjust from there to match your tastes.
For most machines, brewing the coffee can take between three to five minutes, measured from when the water first starts to drip from the machine into the coffee carafe. When all the water has flowed through all the coffee grounds, and the coffee stops dripping into the carafe, the brewing process is complete.
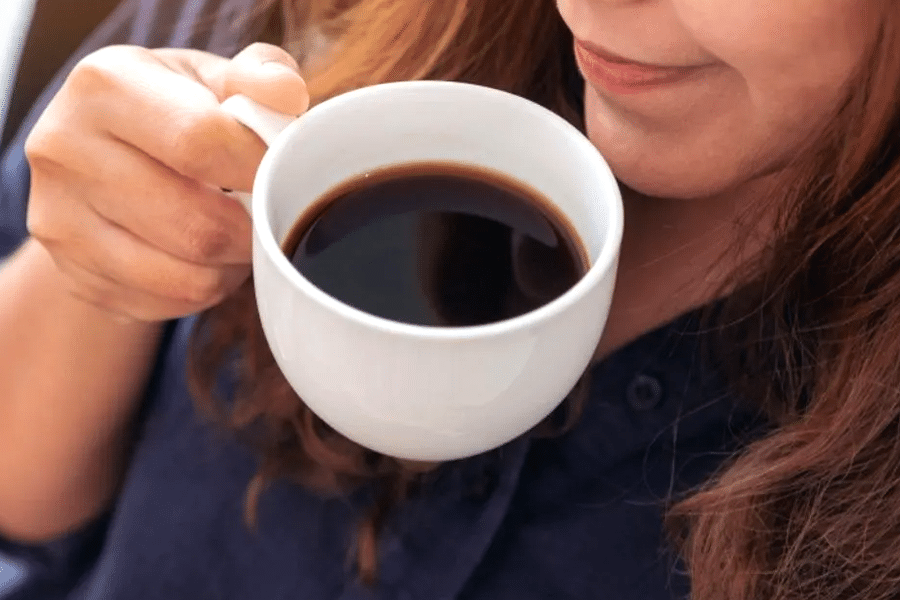
 If the coffee is no longer dripping from your machine, that means your coffee is ready to drink! Of course, remember that it will still be very hot and may need to cool a bit before you drink it. If your machine doesn’t have an automatic shut-off, remember to power off your coffee maker when you’re done for safety reasons and to save electricity. Some coffee makers have a keep warm option, which will allow your machine to keep the coffee carafe hot. You can also check our in-detail review of the best thermal coffee makers, so you can have a drink later or a second drink if you made enough coffee for more than one cup.
It’s important to note that the longer the coffee sits on the warming plate, and the more heated it stays, the more bitter it can grow.
If this is your first time making your coffee, note its taste. If it’s not sweet enough, or a little sour, you may want to try a finer grind. If it’s too bitter, a coarser grind may work. Experiment and adjust until you find what works for you.
 Now that your coffee has been brewed and tasted, it’s time to clean your machine. The first thing you will want to do is remove the filter. If you’re using paper filters, dispose of it and the used coffee grounds. For stainless steel, dispose of the grounds and clean the filter with water as the manual of your machine suggests.
Some coffee makers come with self-cleaning options, so if that’s the case with your machine, follow the instructions to make sure everything is cleaned appropriately. Many other machines come with dishwasher safe parts, so know which parts you can remove and place in your dishwasher. Otherwise, you will want to handwash the remaining parts of the machine yourself.
Keeping your drip coffee maker clean will make sure that your next brewed coffee will taste fresh, and will also extend the lifespan of your machine, saving you money in the long run.
Now that you can know how to use a drip coffee maker, you can see that it’s an easy, convenient, and often cheaper way to get your coffee drink in the morning. You can control the amount of water and the type and grind of your coffee beans, mixing and matching until you have the perfect drink for you. No more standing in line waiting to be served. You’ve become your own barista.