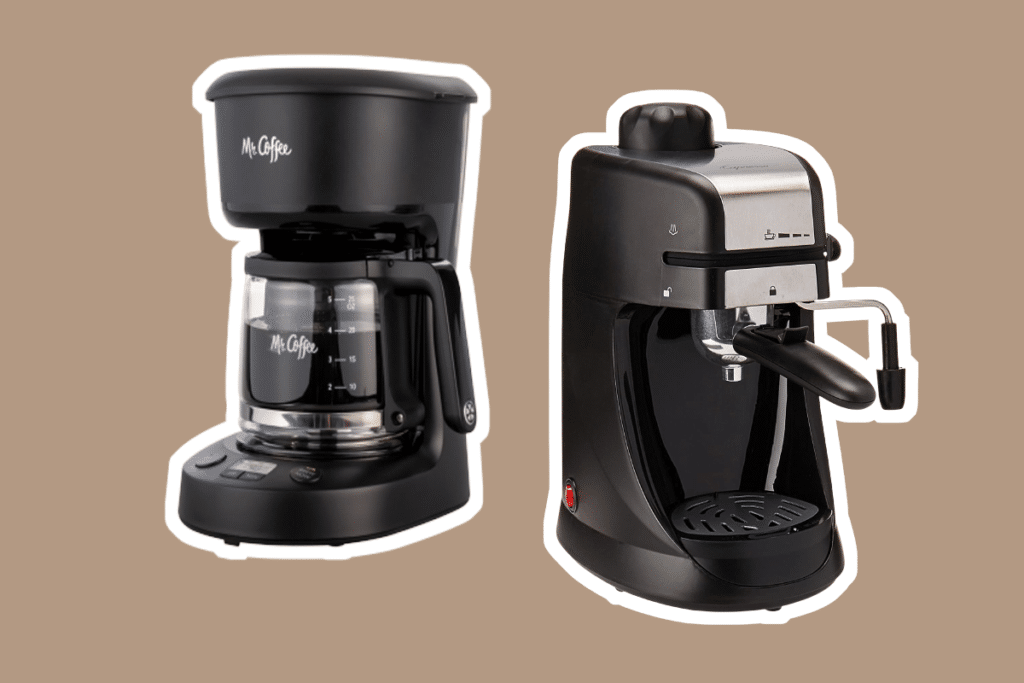

There’s little wonder you have succumbed to the charms of Keurig coffee machines, regardless of the model you purchased. Its ease and comfort of use hook you like its rich coffee. The price range is also great – from affordable coffee makers under $100 to elite top-notch models. But the lime in the water can damage your machine and the brewing process. So, taking care of it is a must if you want to prevent or solve these problems: in this article, we show you why the Keurig to descale light is on and how to descale the coffee maker step by step.
The symptoms of calcification on your Keurig are unmistakable: you’ll have slower pours, the settings will no longer work, stinky clumps, and you’ll only get a coffee cup when you needed a full cup. Fouling occurs when hard deposits from water, which contains many minerals, adhere to the inside of the Keurig, gradually clogging its tubes (the same can happen with your pipes).
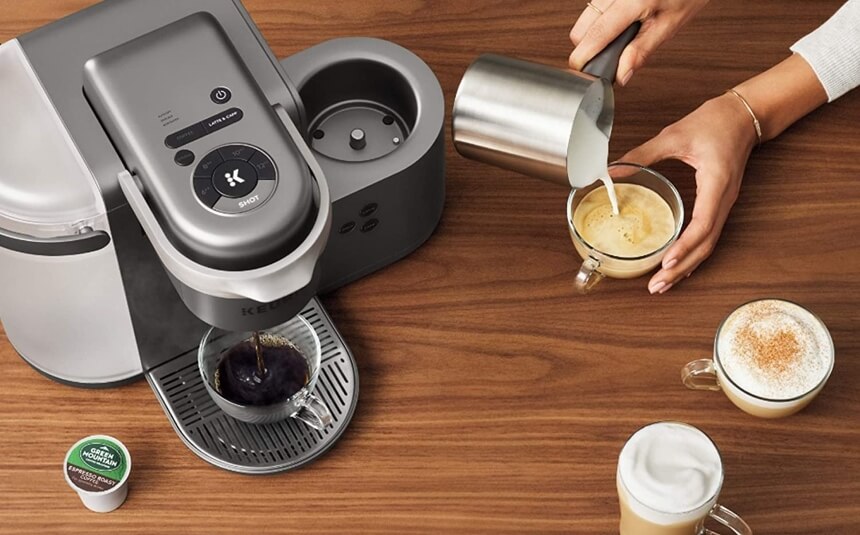
If you have high mineral content in your water, a scale can build up inside your Keurig coffee maker and affect performance. Scale can block the heating element of the Keurig coffee maker and interfere with the heating of the water. Keurig machines have sensors that let you know when tartar has built up, and “Descale” will appear on the unit’s display when this occurs. Then you have to troubleshoot the Keurig.
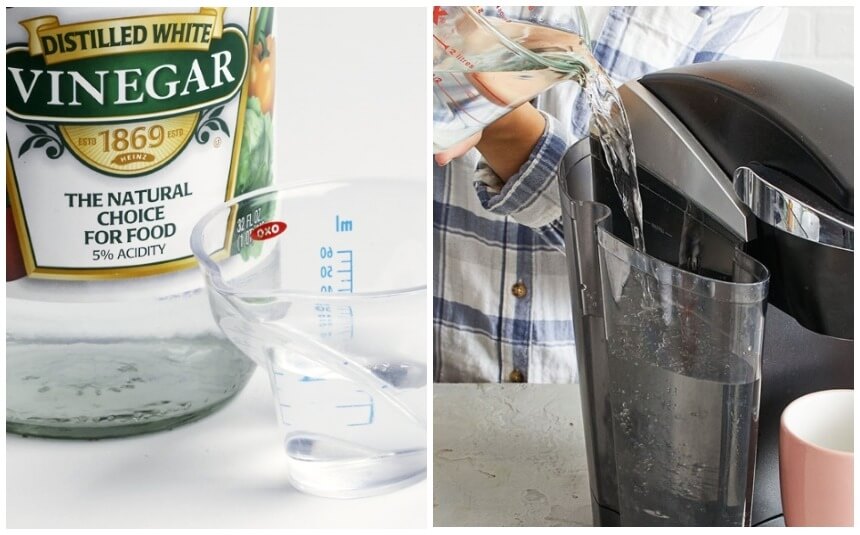
Change the water with the 48 ounces (1.4 l) of vinegar or the cleaning solution that you have. Make sure the K-Cup container is empty, then start a brew cycle. Place a ceramic mug under the spout to collect the vinegar. Empty the contents into the sink.
Repeat this process until the vinegar is drained from the water tank. Refill with water and run several brew cycles before use to clean the unit.
Check the power supply to make sure the unit is connected properly, and the outlet is working properly. You may need to reset the circuit breaker if the Keurig brewer does not turn on.
Lift the K-Cup handle up and down to a single part of the package. Make sure the handle is secure and the unit marks “Ready to Brew” on the LCD screen. Check the LCD screen and error messages, such as “Add Water.” Fill the water tank to solve this problem.
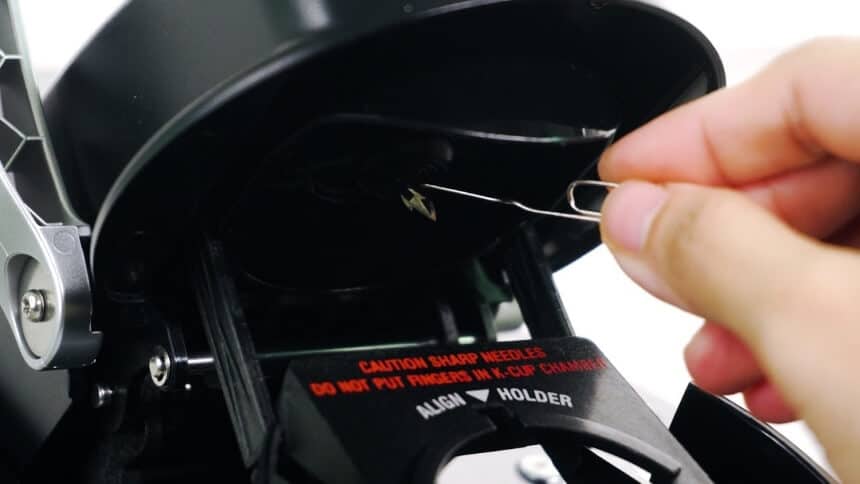
The needle is that which, during brewing, punctures the bottom and top of the coffee pods introduced. However, with time, grounds of coffee can go up into the needle, causing a clog up in the waterline, therefore, not allowing water to get out.
To remove the grounds and buildup of gunk, use a paper clip to loosen the coffee grounds and push them through the needle holes. This should dislodge the dirt that is clogging up there.
The Keurig coffee machine funnel can be removed from the machine and placed in the dishwasher for cleaning. The water tank can be cleaned with soapy water and a clean cloth in the sink by hand. You will need to descale properly if this does not resolve the problem.
If the Keurig descale light has been on, and you have been ignoring it, or if the water is hard, then you need to do the descaling process a few times.
The descale light could be on for several months while the machine keeps producing coffee. It will take you a lot of attempts while using vinegar to get rid of the buildup of scale and get the machine working normally once again.
You will see the scale and calcium build up in your ceramic mug while running the solution. This shows that the buildup is being removed effectively.
If the water is hard and you haven’t had time to maintain the Keurig, you may need to upgrade the Keurig. This is the worst-case scenario. However, today, there are a lot of Keurigs you can choose from.
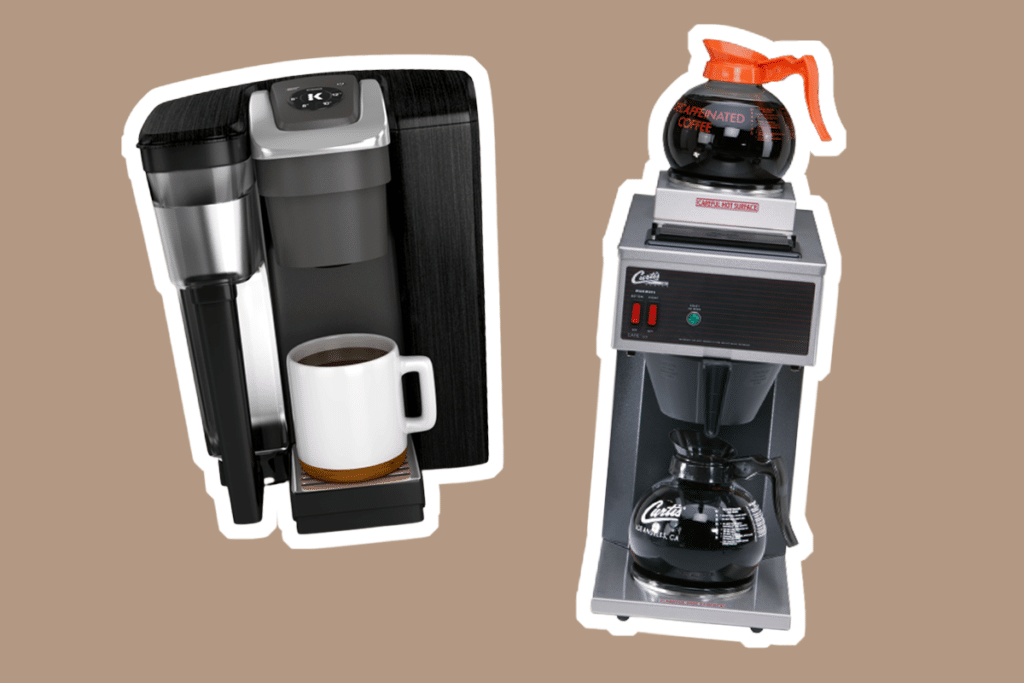
According to most reviews, the most durable, easy to clean, and easy to use model must be the K155 Office Pro Commercial Coffee Maker from Keurig, which, thanks to its reinforced construction and the extra-large water reservoir, is the most reliable option out there.
Iced coffee lovers and K-Cup pod machine enthusiasts are also in for a treat. According to thousands of those who have tried it, one of the best K-Cup pod coffee brewers from Keurig is the Keurig K-Elite Coffee Maker, thanks to its brushed gold finish and iced coffee capability.
A lot of advanced Keurigs will usually tell you whenever you need to descale the machine. However, it’s advisable to always descale the Keurig one every six months, provided the water used is plain.
Keurig recommends doing this once every three to six months. The Keurig will tell you when it’s time. And if you ignore it, you will be reminded again in six weeks.
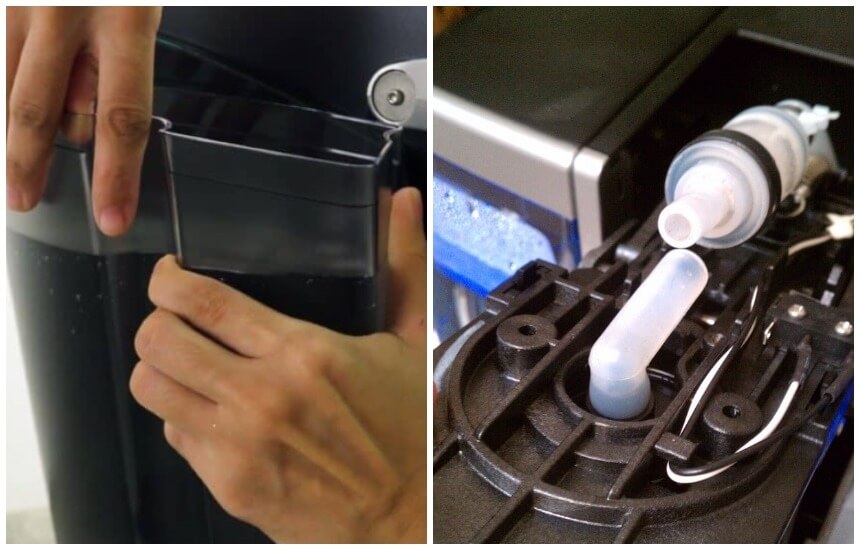
To drain the Keurig, turn off the Keurig brewer and unplug it. Wait half an hour before draining the water.
You need to reassemble the machine. Just push the cap off the end of the tube and push the tube into the clip. Place the back panel on the machine and fix it with the screw you removed earlier, and slide the water tank into the side of the machine.
Your Keurig coffee maker may not work properly if any of the parts become clogged and require cleaning. For example, the spout may stop working due to clogged coffee grounds.
The Keurig descale light may be on due to this. The light indication is actually telling you it’s time to descale or act. Use a paper clip to loosen the coffee grounds and push them through the spout.
The Keurig coffee machine funnel can be removed from the machine and placed in the dishwasher for cleaning. The water tank can be cleaned with soapy water and a clean cloth in the sink by hand. If all these do not work, then you may go for the full descaling option. If the light remains on, you may need to try the descaling option several times.
