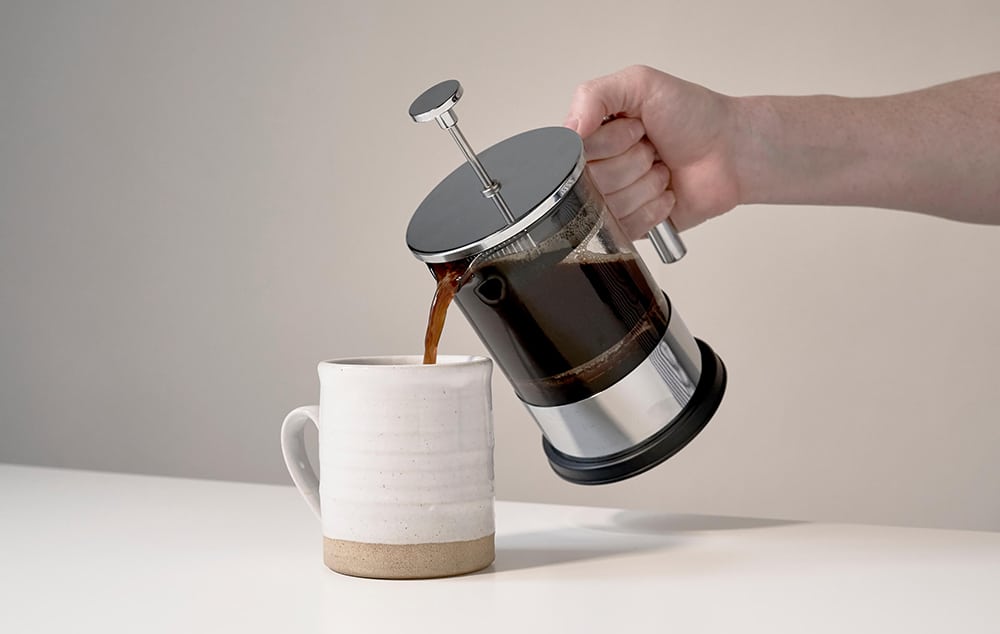

We all live off of coffee. So much so that the nutritional benefits are studied Trusted Source Coffee | The Nutrition Source | Harvard T.H. Chan School of Public Health Coffee lovers around the world who reach for their favorite morning brew probably aren’t thinking about its health benefits or risks. www.hsph.harvard.edu . But even better than a cup of coffee is a perfect latte. Latte art is taken so seriously that even Van Gogh’s paintings are being recreated Trusted Source Latte Art Inspired by Van Gogh’s “Irises” | Getty Iris Baristas at L.A.’s Civil Coffee use a flick of the wrist to make coffee with an Impressionist touch. blogs.getty.edu !
It can be difficult to learn how to steam milk. There are so many steps that have a lot of nuances. Whether steaming milk professionally or at home, it takes a lot of practice, hard work, and willpower, as well as attention to detail and patience.
If you are a barista, pay close attention to what your coworkers are doing and try to copy what they do. If you are just practicing at home, experiment with different methods until you find one that works for you. No matter what, you will be steaming milk perfectly in no time!
Steamed milk is made by heating the milk with a steam wand. It is less dense than frothed milk but still might have some foam on top. You put the tip of the wand just below the surface and create a vortex, making the milk spin. This will make it heat evenly.
Frothed milk uses the steam wand but also has air injected into it which will make foam. You put the steam wand just above the surface of the milk. Lower the frothing pitcher as the milk expands. If you want to froth milk, these are good options to look at. This is another great option!
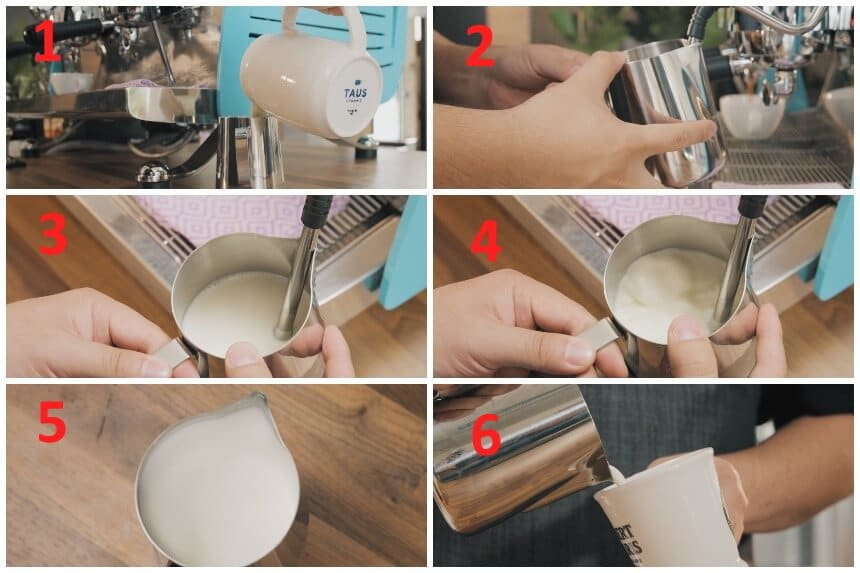
You must practice these steps a lot to perfect them. Baristas do this dozen, if not hundreds, of times a day and thousands of times a month! It takes time to get good. But before long, you’ll be steaming milk like a professional.
First, you have to fill the jug with milk. This step might seem like a no-brainer. But you have to get the amount of milk in your jug just right, or else steaming will be off. Fill the milk halfway up the jug. You want the surface of the milk to hit the lower nudge, or “v,” of the spout.
When you first start learning, pour slowly. As you get better and better, it will become second nature, and you can pour more quickly.
Next, you stretch the milk. You turn the steam on and put the nozzle of the steam wand below the surface of the milk. It’s correct if you hear a hissing sound. That makes foam by letting in air.
Have the nozzle just barely under the surface of the milk. You want to make foam while also making the milk spin like a whirlpool. Milk stretching is about five seconds long because you only need to get a little air into the milk.
Now, move the steam wand just barely more below the milk and keep spinning the milk. There should be no more hissing sound. Spinning makes the microfoam that polishes the milk.
Tilt the jug just right to get the perfect whirlpool of spinning milk. It will be a little off-center but not totally sideways. Experiment to find where the best spot is.
Next, give the jug a thump on the counter to disperse bubbles. Leave it there while you put on the espresso.
Before pouring, swirl the milk around the jug to polish the milk and ensure that the milk and foam are together. The shinier the milk is, the better. The milk should look like wet paint.
Once the milk is spun well, the foam will pour out first because it’s at the top. It should be poured at a consistent pace.
Pour the milk along the side of the cup. Rest the jug’s spout on the top of the cup.
If you used a big jug, split your milk by pouring half into a smaller jug. This gives you more pouring control.
It’s okay to make these mistakes at first. Ask your coworkers for help and pay a lot of attention to what they’re doing and how long they spend on each step. Try to copy what they do exactly how they do it. The only way to get better is to practice!
Pulling air for too long with over-aerate the milk. That will make chunky milk that’s really foamy and has big bubbles.
If you have a lot of large bubbles, you are putting too much air into the milk. Don’t lower the pitcher so much. Listen for the perfect noise. Chunky milk means you aerated the milk for too long. Three to five seconds is best.
If you hear the steam wand screech, that means something is wrong. You are pulling air too little, which is not aerating the milk properly, or maybe not at all.
Start the tip of the steam wand just barely below the surface of the milk. Then lower the pitcher until you hear a “tss” sound. That sound means the steam wand is adding air into the milk, making tiny bubbles or microfoam.
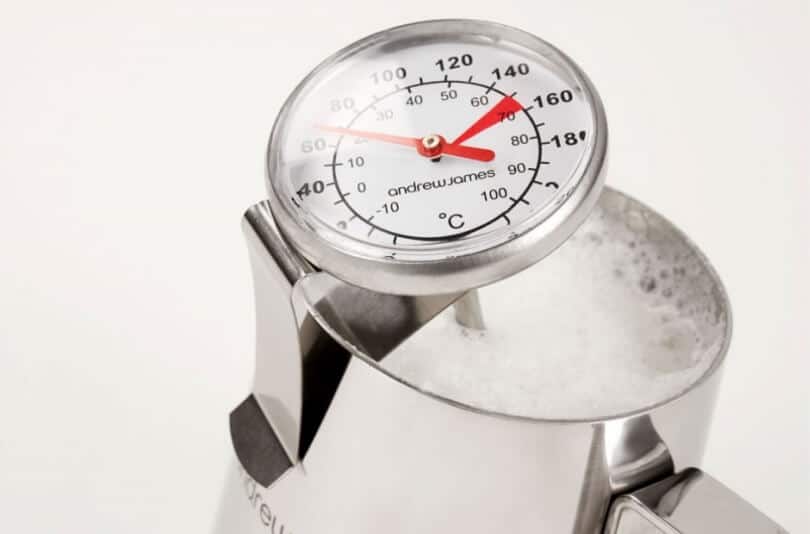
A latte should be steamed between 140 and 155 degrees. You should be able to immediately drink your latte. If it gets overheated, it will ruin the natural sweetness in the milk.
Different drinks have different temperatures. A Cortado should be between 120 and 130 degrees.
Use a thermometer when you first start but also feel the side of the pitcher so you can learn what it’s meant to feel like at each temperature. Milk that is too hot is harder to pour under control.
If you don’t create a whirlpool in your milk, the froth will not be mixed correctly throughout the milk to make an even texture.
To make a whirlpool, have the tip of the wand in the middle of the pitcher vertically and on the side of the pitcher horizontally. Move the pitcher up and down to create the whirlpool.
There are a lot of ways to steam milk without a wand; you just have to get a little creative. One way is to steam the milk in the microwave in a jar. Shake the milk until it is frothy. Then microwave the milk uncovered for 30 seconds.
You can also use the stove and a French press. Warm the milk up to 140 degrees F on the stove. Pour the milk into your French press. Then pump the plunger up and down.
In addition, you can use a microwave and a whisk. You can also use an automatic frother, a handheld frother, or do it on a stovetop.
Next, pour roughly half a cup of milk into the pot that you’re using to froth the milk. Make sure there is room for the milk to rise.
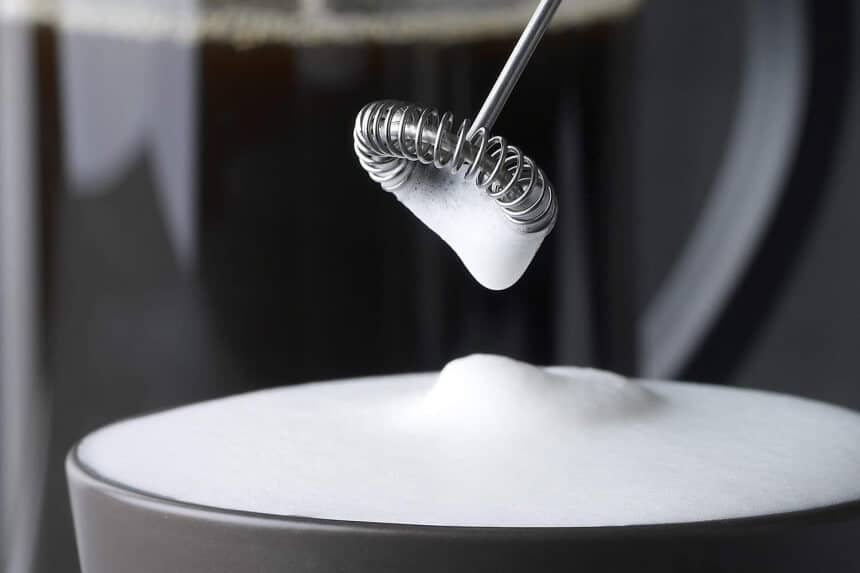
Add the baton into the milk slowly. Once the end is in the milk, you can turn it on. Don’t turn it on before it’s in the milk, or you will splash the milk.
Move the rod up and down slowly. Move it to the top to get some air and create a perfect layer of foam. If you are using almond milk, these frothers are amazing!

Put the lid on your French press and pump the plunger up and down while holding down the lid. Move it until the milk doubles in volume. Now your frothed milk is ready to be poured into a cup of espresso or coffee.
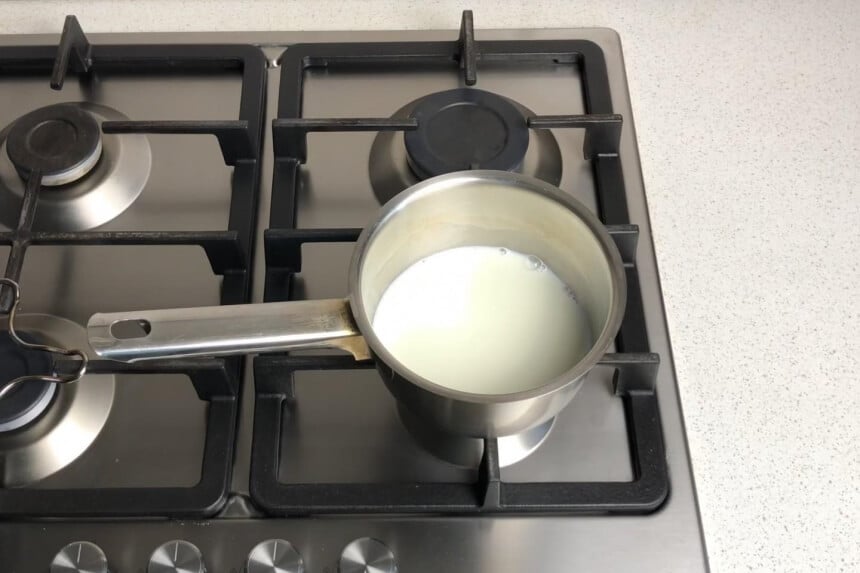
Stir the milk gently until it reaches 150 degrees F. This should take roughly one to three minutes, depending on your stove. If your milk is scalding too easily, you can try using a double-boiler.
Now you can add your milk to your coffee or froth it using an immersion blender or handheld frother before adding.
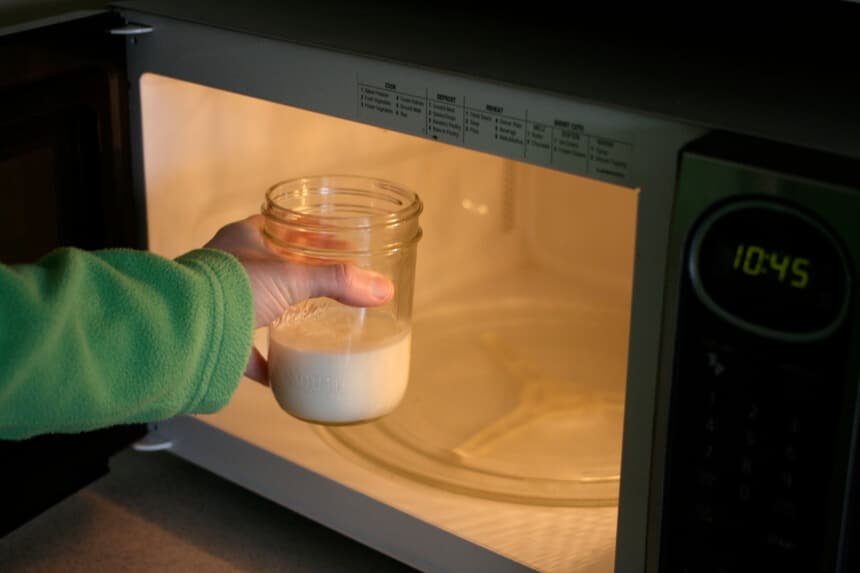
First, fill a microwave-safe container with the amount of milk you want. Heat it for 20-30 seconds. If you have ½ or 1 cup of milk, try closer to 30-45 seconds.
Check your thermometer. If it’s not quite hot enough, try another five or ten seconds. Once you know how long you need, you won’t have to experiment every morning.
Now you can add the steamed milk into your coffee. You can also use a milk frother or immersion blender before putting it in your coffee to make it foamy.
Nothing makes or breaks a latte more than the steamed milk. There are a lot of steps on how to steam milk that take time to perfect. First, you have to fill the jug. Then you have to stretch the milk. Next, create a whirlpool by spinning the milk. Lastly, let it polish. This takes time to master. Copy what your coworkers are doing until you get it right.
You can also steam milk at home by using a microwave, French press, stovetop, or handheld frother. Anyone can make a latte even if they don’t have fancy machinery. The golden rule: never overheat your milk!

