
There is no better way to start your day than with a cup of delicious hot coffee. In fact, many people have a cup of coffee in the morning as the very first thing to do.
As you know, not all coffee drinkers have the same preferences. Some want their drink to be sweet and creamy, while others want it to be strong and have extra flavor. Thanks to the many modern coffee machines on the market, basically everyone can make their coffee according to their unique tastes, and sometimes it takes even less than a minute. However, you may not have these fancy machines with you when you are camping or on vacation. Read on to learn how to use a percolator coffee pot to brew great coffee.
The percolator is a great coffee brewing tool that has been used for hundreds of years, but most millennials don’t like it because of the following reasons.
One of the main reasons why most people get bitter and off-putting coffee when they use this tool is that they lack the brewing skill and technique to brew rich and tasty coffee. In the hands of a coffee aficionado with excellent brewing skills, a percolator is a timeless piece of equipment that can brew premium quality coffee.
We live in a time and age where everybody wants instant results. Nobody wants to wait for more than a minute to get a cup of coffee.
The thing with stovetop percolators is that it doesn’t brew coffee instantly. Making coffee with a percolator is likely going to take you a few minutes.
Percolators are nothing like the high-tech coffee machines that allow users to punch a couple of buttons and attend to other activities as they brew hot cups of coffee. To get the best results from the stovetop percolator, you have to monitor it closely from start to finish. Truth be told, most people don’t have time for that.
Brewing coffee with a percolator isn’t as difficult as you are probably thinking. But to ensure that you get the best results and that the whole process is seamless, you are going to need the following.
Note that you don’t have to buy the most expensive percolator on the market to make a rich, delicious coffee. A regular one will do. Your focus should be on getting premium quality coffee beans and a good grinder.
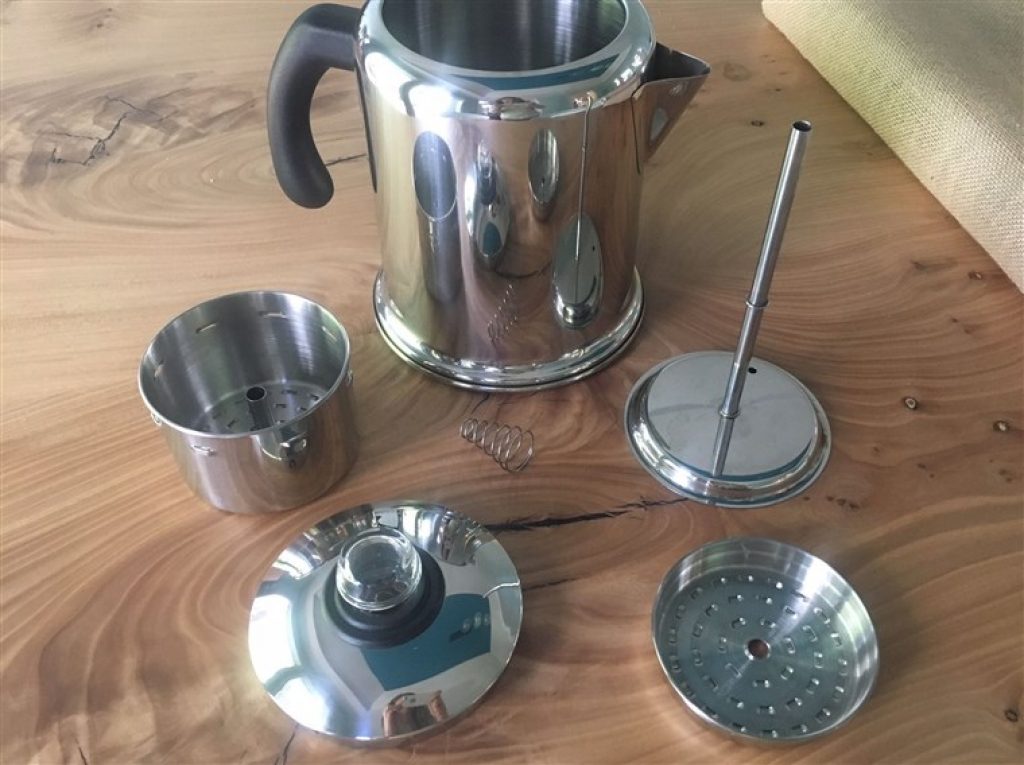
Granted, learning how to use a coffee percolator to make a perfect cup of coffee is really difficult. But if you want to make delicious coffee with it, you first must have a clear picture of the various parts and their functions.

A vertical tube is located in the pot, which goes from the top to the bottom of the percolator. A perforated basket, which is almost like a small chamber, sits on the tube.
When putting your percolator together, you have to make sure that the spot where the fluid rises through and splashes inside and the top of the tube line up perfectly.
This is where the ground coffee beans are brewed. It is also where the perforated basket and tube are located.
Here, we are going to be looking at how to use a percolator.
Carefully pour water in the pot. The amount of water will determine the number of coffee cups you can brew with the percolator. If you pour too much water, you will get a watery result. If, on the other hand, you use a very small amount of water, the result will be strong and bitter.
The most difficult aspect of brewing coffee with a percolator is getting the water right. But with practice, you will master the process.
Measure the amount of coffee you need to achieve the flavor and strength you desire. If you haven’t tried brewing the coffee before, stick to 30 grams of whole coffee beans for 500 ml. (17 oz.) of water. You can experiment with the water/coffee ratio as you become conversant with this tool.
Next, use a burr coffee grinder to grind your whole coffee bean to achieve a medium-coarse ground. Anything smaller will make your ground dissolve completely into coffee, giving it a bitter, off-putting taste.
Double-check your measurement to ensure that it is accurate and fill the coffee basket with ground coffee. Try not to overfill the brewing chamber, as you will lose the extra coffee to spill over. Restraint is the key to getting the best result with this method.
If you are at home, place the pot on a stove. If you are out camping or going for an outdoor adventure, place the pot on a camping stove. Keep the flame intensity at medium and monitor the process. After a while, it will start boiling. As soon as you notice this, quickly reduce the intensity of the flame and let it percolate for 8 to 10 minutes.
This is likely the most important and attention-demanding part of the process. As a moment of distraction can lead to a bitter and yuck result.

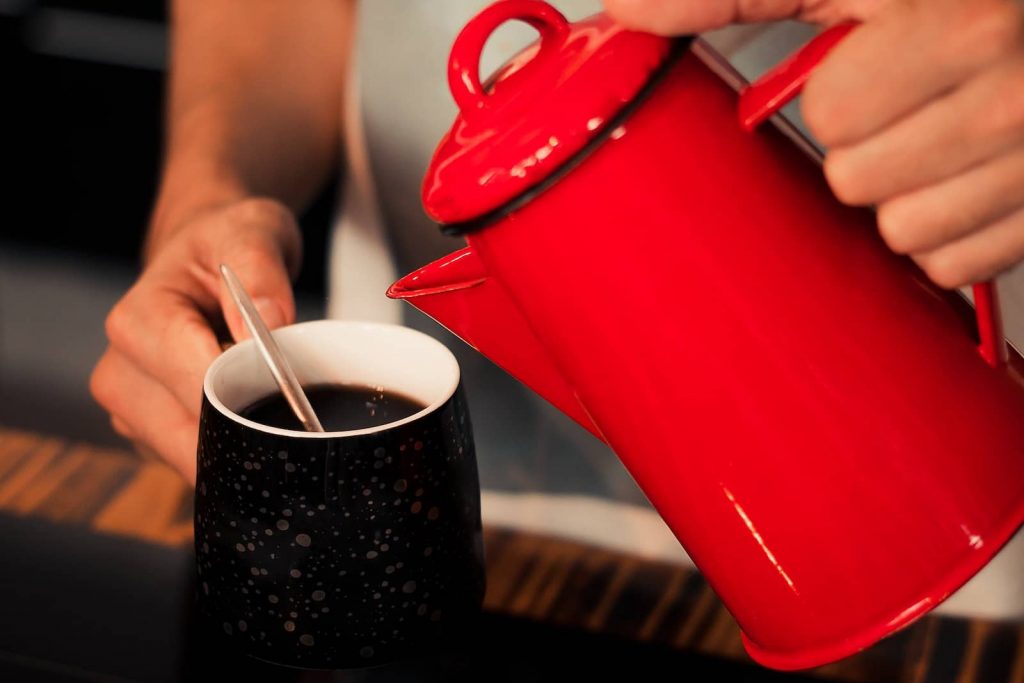
Pour hot coffee in the percolator into your favorite coffee cup and enjoy it. You can choose to add sugar and milk to make it sweet and creamy or have it black and strong.
Life isn’t fun and exciting when you follow a strict routine. So, step out of your comfort zone, explore, and try new things out. Whether you are new to coffee or a seasoned coffee lover, you should learn how to use a stove percolator. Of course, you may have to give up some minutes to monitor it, but it is going to be worth it in the end, as your senses will be stimulated uniquely by the beverage you love.